Tackling top overhaul decisions: Borescope inspections
For some reason, preventive cylinder maintenance (maintenance not technically indicated by the manufacturer’s guidelines) is considered taking the “high road,” while monitoring the condition of cylinders that are within the manufacturer’s guidelines, but not perfect, is considered cheap or risky. This is one of the reasons that top overhauls are often viewed as having some significant value. However, it’s important to point out that, as far as the FAA and engine manufacturers are concerned, there is no such thing as a top overhaul. The engine is either completely overhauled in accordance with the engine manufacturer’s instructions, or it’s not. Everything else is just a repair.
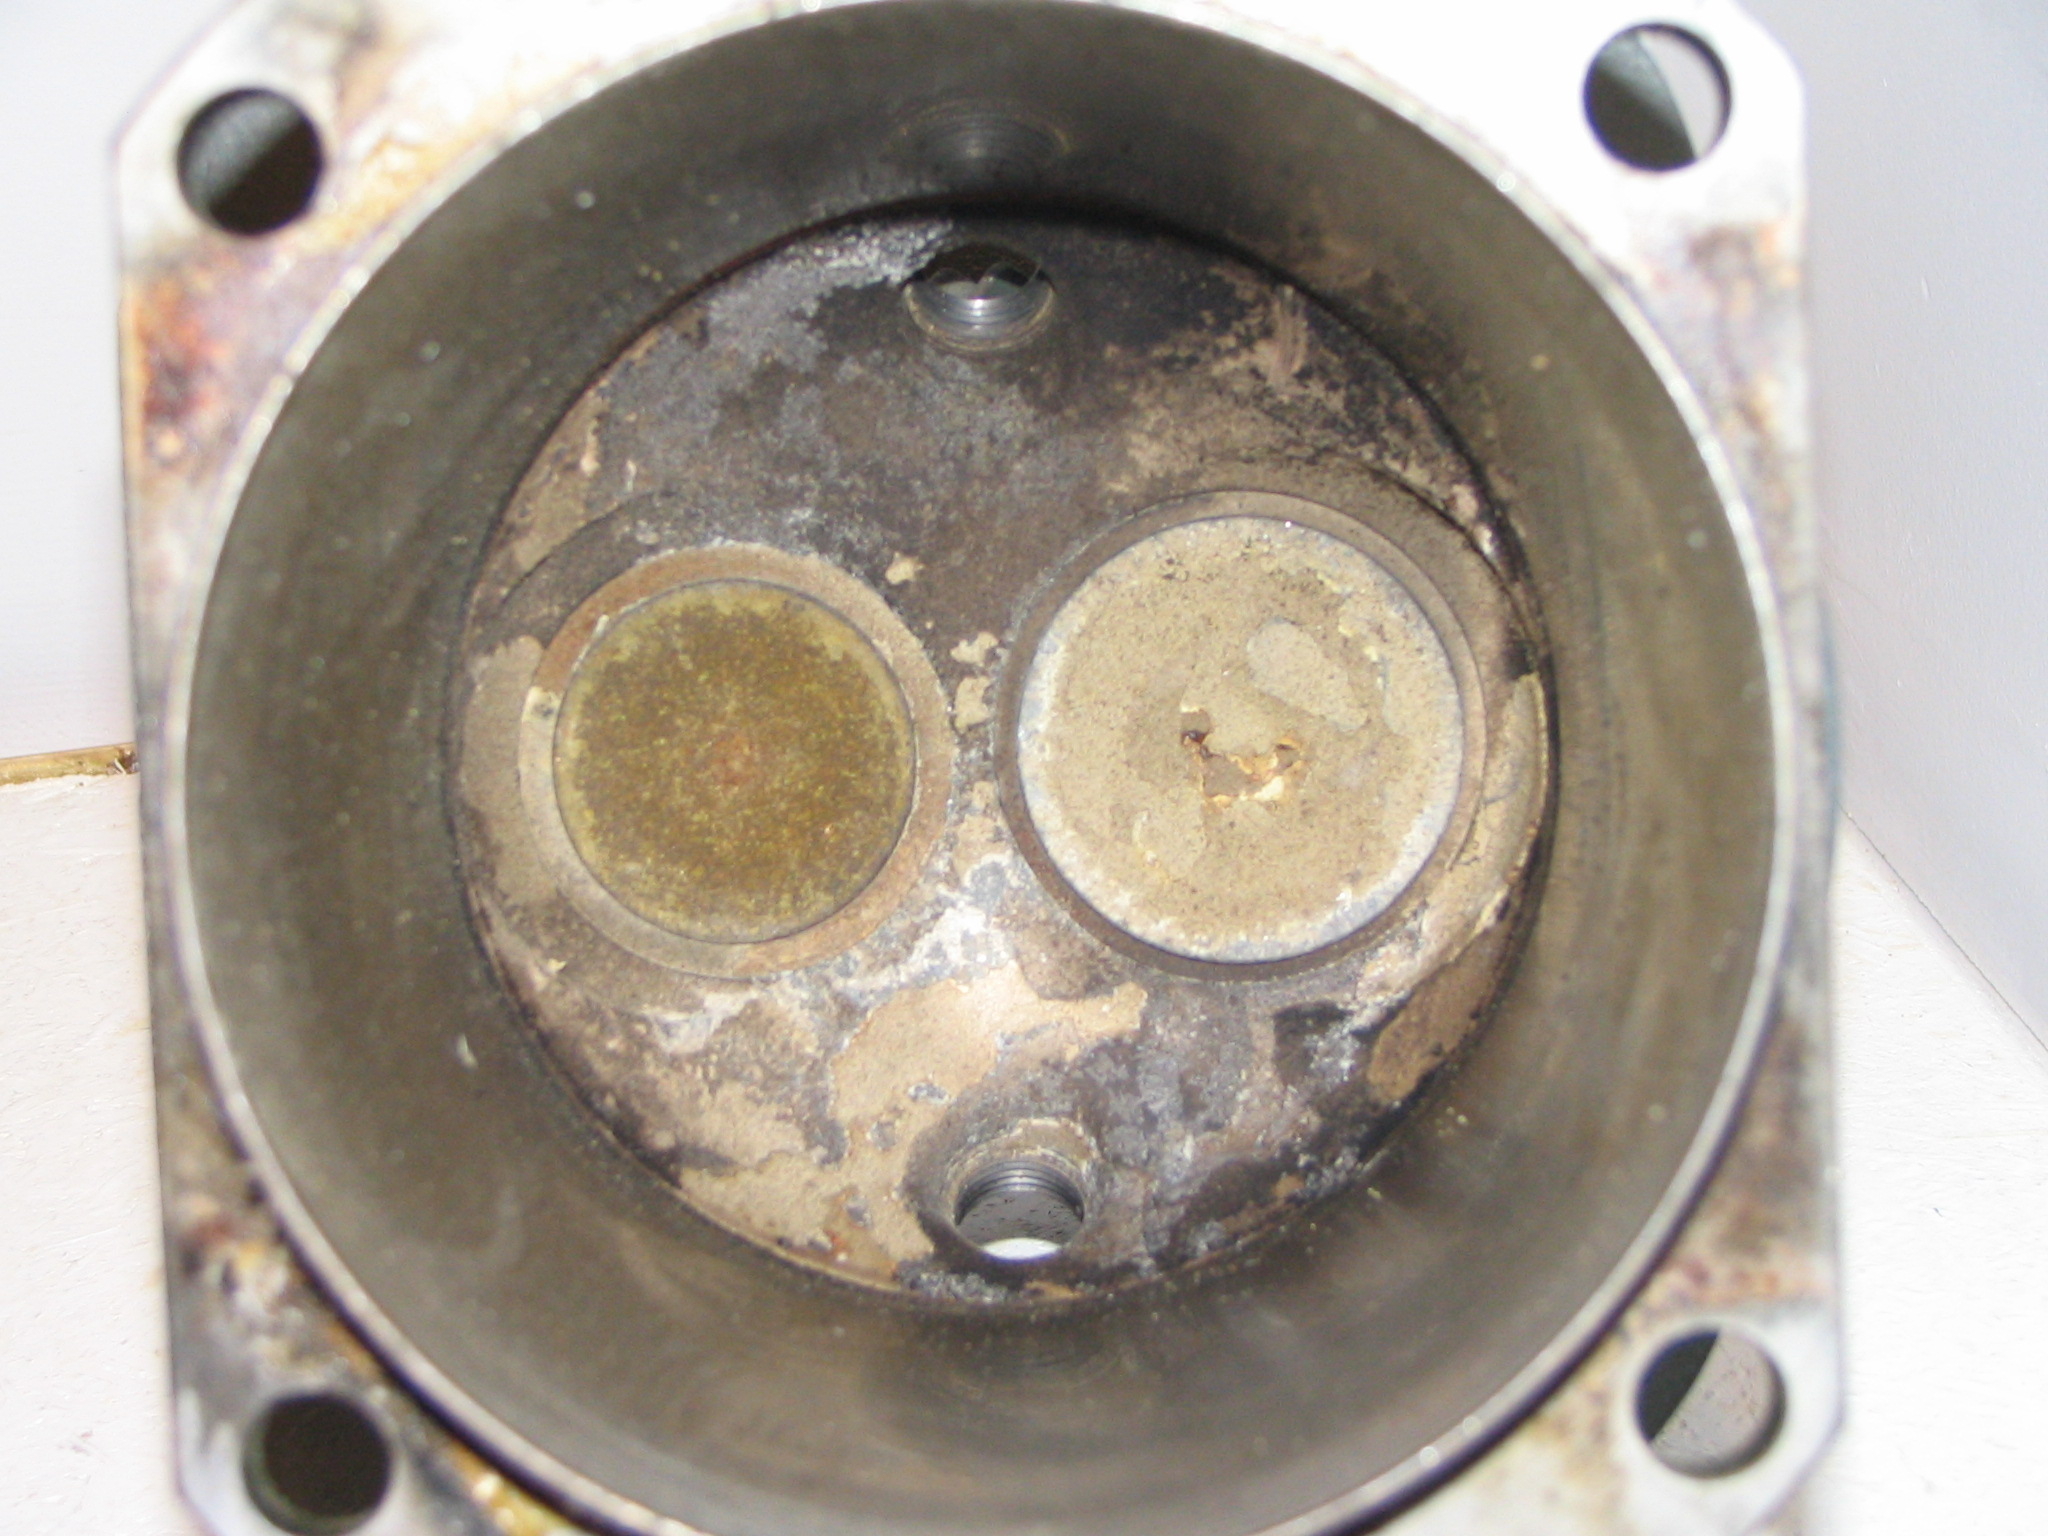
Before electing to replace a cylinder, it’s important to do as much investigation as possible with the cylinder still on the engine. One of the best tools for this is a borescope. A borescope is a device that allows the mechanic to view the inside of the cylinder close up, including the valves, valve seats, piston, etc. It wasn’t long ago that a quality borescope cost thousands of dollars, and the results of the inspection lived only in the memory of the inspector looking through the lens. All of this has changed with the proliferation of micro imaging devices throughout the commercial and retail world. Quality borescopes are now commonplace, even at your local Home Depot.
I’ve worked with a myriad of different scopes over the years, and they’ve come a long way in a short period of time. However, it still seems that you have to pay a premium for the quality needed for this work. I was evaluating a failing valve on one of my cylinders recently when a friend brought over a Snap-On borescope (BK6500) with both forward and side-view integrated cameras, a very bright light, and a built-in camera. The results were extremely impressive, and it was a joy to use. Unfortunately, the price tag for technology such as this is almost $800.
For the more casual user, there are several cheaper options, some as low as $200. However, these units can be more difficult to get a good image with and require a mirror attachment to see 90 degrees, which is not nearly as good as a side-view camera. If you use one of these, you may want to put some tape around the mirror attachment to make sure it doesn’t fall off inside your cylinder during the inspection. Don’t ask me why I know about that one.
The key areas to inspect with a scope are the cylinder walls, the valves, and the valve seats. Look on the cylinder walls for the cross-hatching pattern from the original cylinder honing. You should see a uniform pattern and not much oil pooling at the bottom of the cylinder bore. Scoring or scratches on the cylinder walls are cause for further investigation.

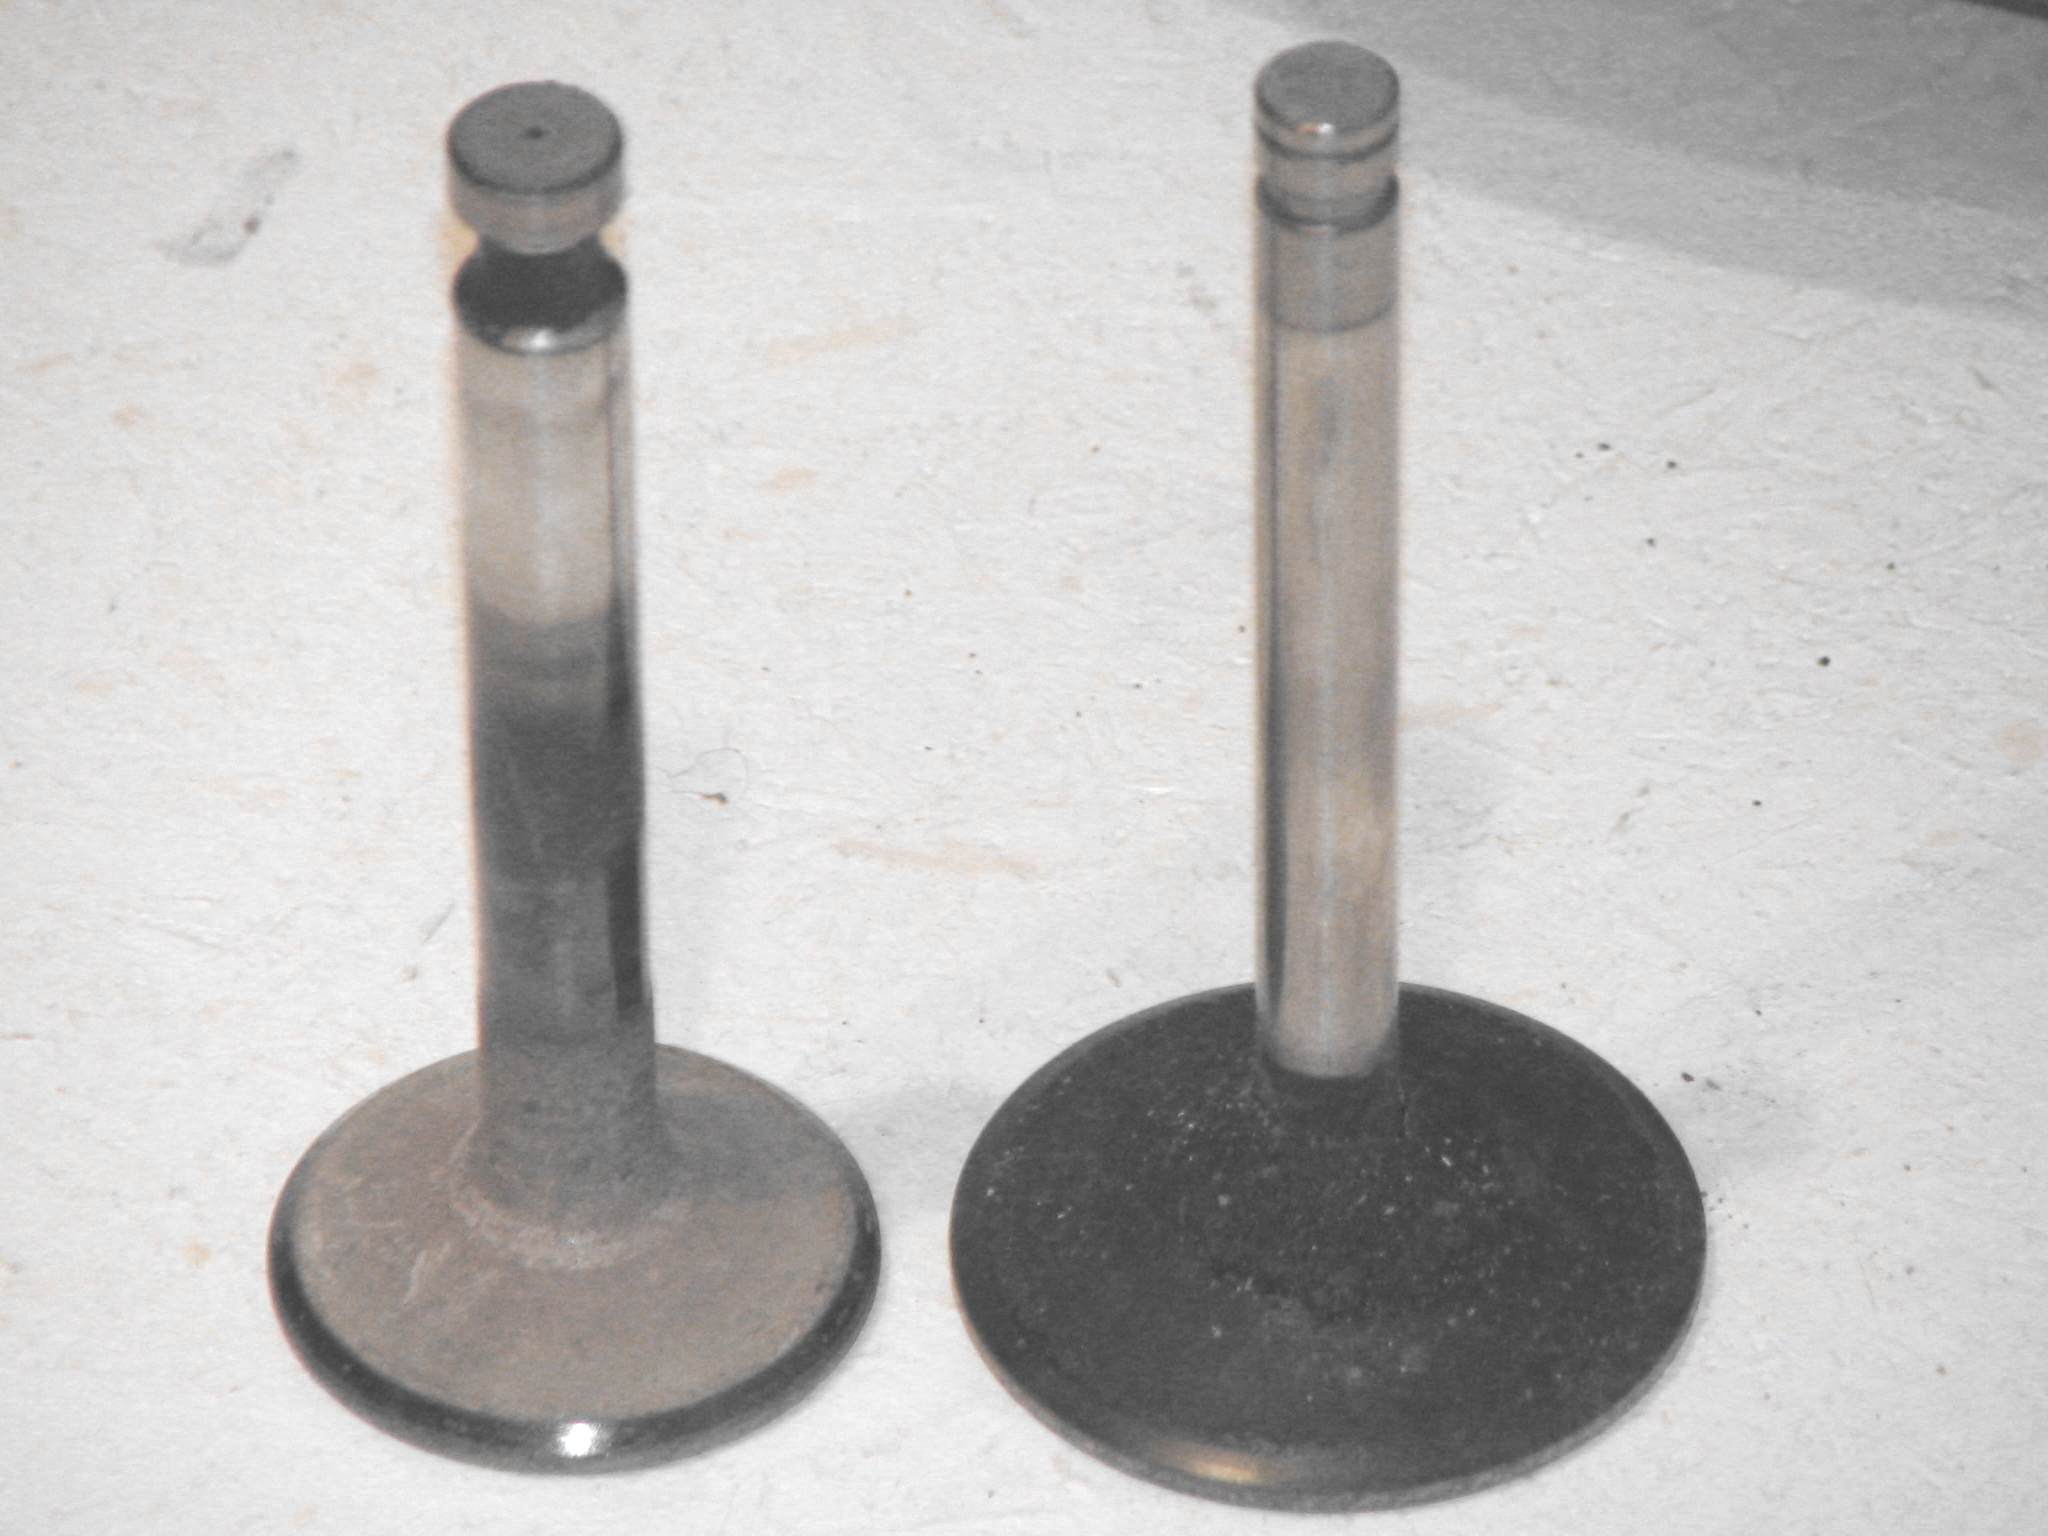
Both valves should show uniform seating surfaces indicating that they are sealing well against the seats. The exhaust valve is the most crucial component to inspect. Exhaust valves are the weakest link in most cylinders because they are subject to extreme heat as the combustion gasses flow out of the cylinder, and they can only dissipate this heat through the valve guide and valve seat. In addition, they tend to collect deposits of lead and other byproducts of the combustion process on the valve surfaces as the gasses flow by. This can cause a poor seal between the valve and the valve seat. Once a breach begins in the sealing surface of the valve and seat, the hot gasses passing through it will quickly erode the valve and begin the failure process. One indication is to look for uniformity of the coloration on the face of the valve. If the valve is seating properly, the face will typically look uniform with no color variations at a particular "clock position" on the face. Don’t worry too much about the "burnt pizza" look on the face of the valve—it’s the uniformity that matters.
The clearance between the valve stem and the valve guide is also of particular concern. If there is too much clearance, two problems can occur. First, the valve can wobble in the guide, causing excessive wear and poor seating for the valve face. Second, exhaust gasses and oil can get in between the stem and the guide, building up until the tolerance gets overly tight and the valve sticks. Sticking valves are often referred to as "morning sickness" because rough idling symptoms sometimes go away once an engine is warmed up. There are no simple cures for a sticking valve other than removing and repairing the valve and guide (Marvel Mystery Oil will not solve the problem). Failure to address the problem early is a recipe for disaster and will eventually result in a bent or broken valve and the associated engine failure.

Lycoming has published Service Bulletin No. 388C detailing instructions for measuring the valve guide clearance every 400 hours of service on some of the manufacturer's engines. This can be done without removing the cylinder from the engine and takes about 30 minutes to 45 minutes per cylinder by a skilled mechanic. If the valve itself needs to be replaced, that can only be done by removing the cylinder.
Next time, we will cover the last two topics regarding cylinder evaluations: oil use and cylinder cracks. Until then, happy flying!


