Most general aviation aircraft use a tire and tube arrangement with a split wheel design. The split wheel design means that you don’t need any expensive tire tools to dismount and remount the tire on the rim (such as with automotive tires). However, it’s important to note that dealing with tires can be extremely dangerous if not done correctly. Remember that you’re dealing with something under a great deal of pressure.
Tire Removal
First, remove the wheel pants and fairings, and jack up the aircraft as described in your aircraft’s maintenance manual. Jacking an aircraft may appear to be simple, but if you don’t do it correctly you can hurt yourself and your airplane. Don’t take any shortcuts and be sure to wear a good pair of safety goggles and protective gloves.
Begin removing the wheel by disassembling the caliper/brake plate so that the wheel is free of the brake assembly (refer to your aircraft manual). Before you remove a tire from the axle, you should always depressurize it fully. If, for some reason, the wheel itself has failed, the axle nut may be the only thing holding the wheel together.
Next, remove the cotter pin that secures the main axle nut and unscrew the axle nut. Now the wheel should be free to slide off the axle. With the wheel off, you can take it over to a stable workbench for tire replacement.
Disassembly begins by using a simple bead breaker to free the tire from the wheel half. Be very careful with the bead breaker or tire spoon. If you scratch or gouge the wheel half, you’ll ruin it. Next, carefully un-torque and remove each of the wheel bolts. Whether you’re installing or removing torqued bolts, work incrementally and in an alternating pattern. Before removing the wheel halves, mark both halves as well as the brake disk to make sure that everything remains aligned the same way during re-assembly.
Take this opportunity to clean and inspect the wheel halves, bearings, tie bolts, and brake disk. Once the wheel has been cleaned and inspected, you’re ready to replace the tube and tire. Never re-use an old tube. Aircraft tires grow in service and the tubes grow along with them. If you’re replacing the tire, you should always replace the tube inside.
Begin by inflating the tube just enough to round it out. Then, put a light dusting of tire talc to keep the tube from sticking to the tire. Make sure you use talc made especially for this purpose. Most tire and tube supply houses will give you a small bag of talc with your order. Next, place the tube inside the tire and line up the balance marks. The balance marks are the red dot on the tire and the yellow stripe on the tube. If your tube doesn’t have a balance mark, use the valve stem as the tube marker.
Now we can place the outer wheel half into the tire with the valve stem carefully positioned through the access hole. Follow this with assembly of the inner wheel half and brake disk. Make sure to use the alignment marks you made during removal so that everything matches up correctly. You want to be especially careful not to pinch the tube between the wheel halves during reassembly.
Finally, we can insert the tie bolts and hand-tighten the nuts. Carefully re-torque the tie bolts in a cross pattern. Once everything is torqued correctly, you can re-inflate the tire. Inflating a tire after assembly can be very dangerous if there is a problem with the wheel assembly, so use protective gear and inflate the tire slowly while checking for any movement or problems in the wheel assembly. If this is your first time, ask your mechanic for assistance. Finally, reinstall the wheel according to your aircraft’s maintenance manual.
Remember, your tires are an important part of your aircraft. They’re called upon to perform at their best during our worst landings. One of the reasons that the FAA allows owners to change their own tires is so that they’ll do it more often. So, make your tires a priority stop on your pre-flight inspection and don’t hesitate to replace them when it’s time. After all, your tires make all the difference in getting from touchdown to tiedown!
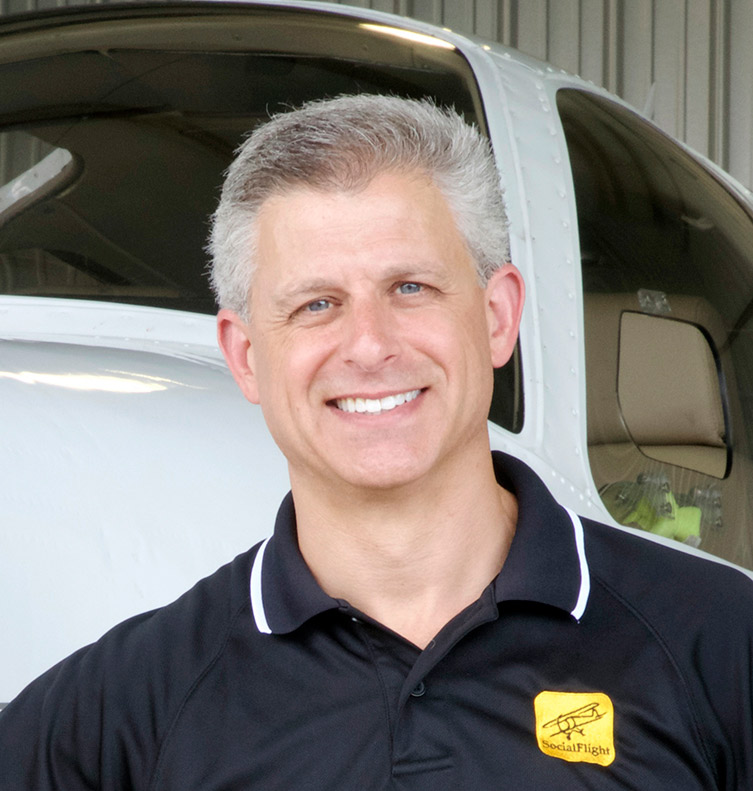
Jeff Simon is an A&P mechanic, pilot, and aircraft owner. He has spent the last 14 years promoting owner-assisted aircraft maintenance as a columnist for several major aviation publications and through his how-to DVD series: The Educated Owner. Jeff is also the creator of SocialFlight, the free mobile app and website that maps over 5,000 aviation events happening throughout North America. Free apps available for iPhone, iPad and Android, and on the Web at www.SocialFlight.com.


