Runway markings
A language in paint

At a glance, even before I make the downwind turn, I have a wealth of information about the runway. Just by looking at it. Yep, without using a chart, the chart supplement, or ForeFlight, I know almost everything I need to know about the pavement I’m about to land on.
That’s because I can read the hieroglyphic language of runways. Well, more correctly, of runway markings. And you can, too.
It’s not a difficult language to learn. For all practical purposes, there are only six flavors of markings for hard-surface runways—along with a few other types of markings that sometimes show up on runways.
Let’s start with those big white numbers at the end of the runway.
Designation markings
The “runway number” is officially called the designation marking. It’s the runway’s name. The markings are Arabic numerals 60 to 63 feet tall, painted in white, like all runway markings—the color chosen for high contrast on paved surfaces. Located on the landing end of the runway, these numbers indicate the approximate magnetic orientation of the runway from the approach direction. Of course, every strip of asphalt is really two runways for the price of one (depending on which end you land on), so every strip has reciprocal numbers painted on the other end.
The runway number is derived by rounding the magnetic orientation up or down to the nearest whole 10 degrees, and then dropping the last digit. So, a runway oriented to 183 degrees is rounded down to 180 degrees, and with the zero dropped, becomes Runway 18. On the radio, we call it Runway One-Eight, not Runway Eighteen. Here in the United States the zero before the numbers of runways 1 through 9 is also dropped, although that’s not true overseas. While we just say Runway Two, in other countries you’ll hear Runway Zero-Two.
In the case of a pair of parallel runways, a secondary designator, “L” for left and “R” for right, is added below the number. If you see Runway X, it’s not the Roman numeral for 10, it means the runway is closed. As runway designators are magnetic, and the earth’s magnetic field shifts each year, over time runway numbers can and do change.
Boy, I wouldn’t want to be the guy that has to scrape all that old white paint off when that happens.
Threshold markings
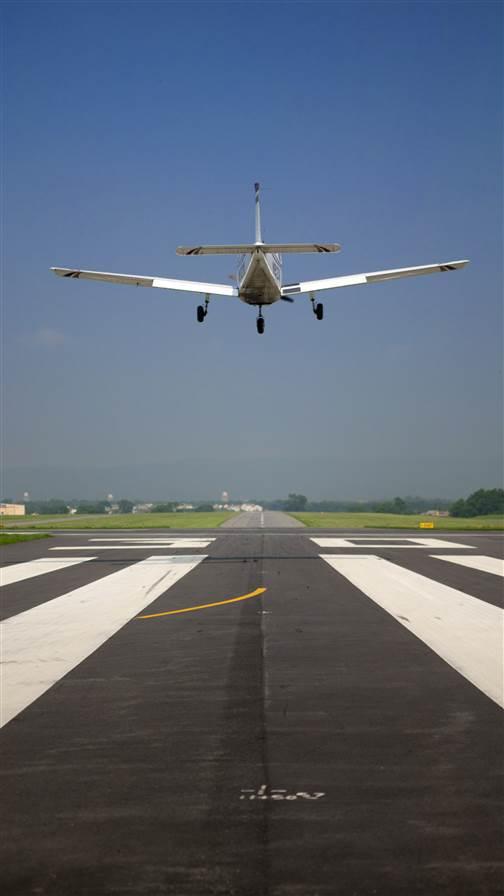
Although runways are just strips of pavement, optional accessories break them into three broad categories: visual runways, nonprecision instrument approach runways, and precision instrument runways. On visual runways, the designation is painted near the start of the pavement, but runways with instrument approaches have a series of bold, long, wide stripes called threshold markings painted between the start of the runway and the numbers. (Visual runways used by international commercial airplanes also have threshold markings.)
These stripes mark the beginning of the space available for landing. Well, sort of. Threshold markings start 20 feet beyond the beginning point of the runway surface usable for landings. The number of stripes that make up the marking generally tell you how wide the runway is. The more stripes, the wider the runway. The coding system starts at four stripes (two on each side) for a 60-foot-wide runway and goes up to 16 stripes for a 200-foot-wide runway. Check out Table 2-3-2 in the Aeronautical Information Manual for the magic decoder ring for deciphering runway widths in between.
Sometimes the first part of the runway isn’t appropriate for touchdown, but can be used for takeoff, or for rolling out after landing on the other end of the runway. This is called a displaced threshold, and the displaced threshold markings are white arrow-tipped center stripes that point the way to the threshold, and a set of white arrowhead chevrons where the displaced threshold meets the runway. In addition to the arrows, a 10-foot-wide runway threshold bar is painted across the width of the runway where the threshold meets the runway.
In other cases, you might see yellow arrows or arrowheads and a solid yellow line across the runway called a demarcation bar. This tells you that you are on a taxiway that aligns with the end of the runway. As this isn’t technically part of the runway, yellow paint is used, because yellow is the national banner of all things related to taxiways. In this case, you can’t take off until you cross the white runway threshold bar.
Finally, if you see large yellow chevrons on a piece of pavement that otherwise seems to be part of the runway, this is a blast pad or stopway. Don’t go on it. It’s yellow because it’s not part of the runway.
Centerline markings
Downstream of the numbers the centerline—the dashed stripes down the center of the runway from one end to the other—start. The AIM says that the stripes have “uniformly spaced stripes and gaps.” Stripes are 120 feet long and the gaps are 80 feet; with widths ranging from one foot to three feet, depending on the size and nature of the runway. The purpose of the stripes is to help you take your half out of the middle. Taking off and landing in the middle of the runway keeps you from smacking your wings on signs, buildings, and windsocks.
 Touchdown zone markings
Beyond the first stripe of runways with precision instrument approaches, 500 feet down the runway, are three parallel stripes toward the edge of the runway on each side. These mark the first of the touchdown zone markings. They also appear in pairs or as single lines farther down the runway, marking 500-foot segments of the runway. They are useful in telling you how much runway you’ve gobbled up if your landing goes awry.
Aiming point markings
Farther down the runway from the first triple set of touchdown zone markings are a pair of wide, long rectangles of white paint. These are the aiming point markings. Sometimes called “thousand-footers,” they are located about 1,000 feet from the threshold and provide a visual target for landing operations. On a proper approach angle, the aiming point marking stays in a stable location in your windshield, giving you visual cues if you are drifting high or low. Visual glideslope indicators—such as VASIs and PAPIs—are placed to fall in line with the aiming point.
Side-stripe markings and their kin
Side stripes, found mainly on runways with precision approaches, are solid, continuous white lines that “delineate” the edges of the runway and provide enhanced visual contrast between the runway edge and the surrounding terrain or runway shoulders. Other types of runways may have side stripes if the full runway pavement width is not available for use as a runway. A distant cousin of the side stripe is the runway shoulder marking, which is yellow. It’s used to mark pavement you aren’t supposed to taxi on and is used in conjunction with side stripes.
Yellow where it doesn’t belong
In addition to the official white runway markings, some nonrunway markings are painted on runways as well. For instance, taxiway centerline markings—solid yellow stripes—extend onto the runway, running slightly offset from the runway centerline markings, to help pilots identify taxiways that intersect the runway. You can think of them as runway exit markings.
You may also see a yellow hold short marking, like the type you’re used to seeing on taxiways leading onto runways, painted directly on the runway itself. These are used with intersecting runways designed for land and hold short operations.
Runway literacy
Why does this obscure symbolic language still matter? Well, tech does fail. Charts do get sucked out open windows. Sometimes you have to land in a strange place where you didn’t plan to. Right. Now.
But you’ll be fine. Because you can now read the hieroglyphic language of runways. Simply look, and the runway will speak to you.

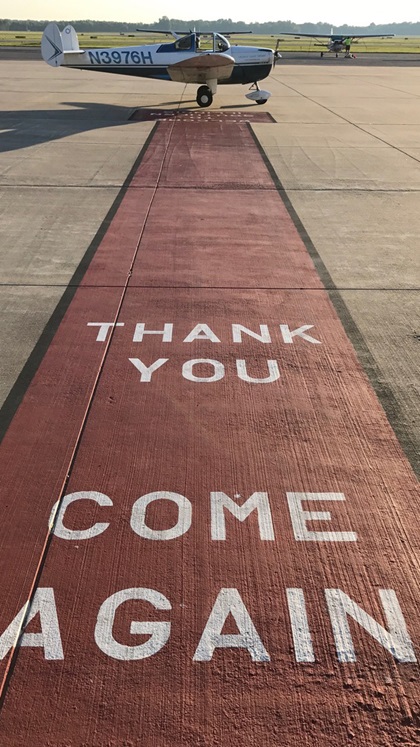
 If you know where to park at Southern Illinois Airport (MDH), they’ve already rolled out the red carpet for you. That’s because the FBO’s welcoming red carpet is painted on the apron. Yep, it’s a marking.

