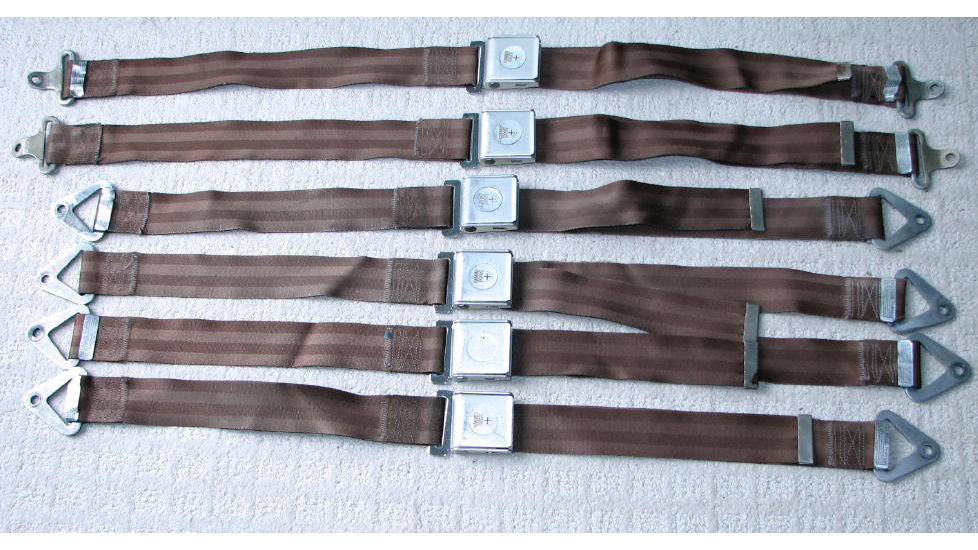
Tips for examining your aircraft seat belts
Part 1: Seat belt and harness maintenance
Aircraft seat belts tend to be extraordinarily simple when compared to their automotive cousins. There are no seat belt warning lights or bells, they rarely have retract mechanisms, and the airline-style metal latches beg for a performance of the standard flight attendant routine for family and friends who are about to take off with us.

Despite their simplicity, seat belts are not maintenance-free items. It is very important to inspect them regularly for safety issues including worn or damaged harnesses, faulty latches, and improper placarding. Aircraft seat belts play a crucial safety role and are designed to withstand tremendous loads in an accident. Any damage or wear can compromise these capabilities significantly.
When evaluating a harness, begin at the buckle or latch mechanism. It should operate smoothly and not show significant signs of wear. When the belt is under tension, the buckle should still be able to release without significant force. If the mechanism is loose or does not operate smoothly, it should be replaced.
A common issue is the damage, wear, or loss of the nylon bushing on the “knob” where the shoulder harness clips onto the seat belt buckle tab (Cessna calls it an “attach rivet”). Without this bushing, the shoulder harness can easily fall off the buckle, most likely during turbulence or some other situation when you need it most.
Replacing the bushing is simple and inexpensive, but there’s a trick to getting that little nylon bushing over a metal knob twice its size. To make that happen, place the bushing into boiling water for about 10 minutes and then quickly stretch it over the knob and into place before it cools. Use caution—we are talking about boiling water and one hot little piece of nylon. Use protective gloves and tools to do this, not your hands. For those interested, the part number that fits on most aircraft is S2237-3. It can be purchased for $0.60 to $3.00 depending on where you get it.
Next, inspect the harness webbing. Over time, the webbing can fray or deteriorate due to mechanical wear, UV exposure, or chemical damage. Fraying is fairly easy to spot during inspection, but other types of damage can be more difficult to identify. Look for a fuzzy layer on the surface of the fabric or a warp in the weave. If one of these issues is present, the harness material needs to be repaired or replaced. You may be surprised to learn that the label sewn on the webbing is an airworthiness item for the belt. If yours is torn or illegible, it must be replaced to remain legal.
Finally, inspect the mounting points themselves. The mounting bolts and spacers should be secure and not show signs of wear.
Fortunately, re-webbing seat belts and harnesses is a straightforward and relatively inexpensive process. There are a number of excellent repair facilities that can replace the latches and re-web your belts. You can even use the opportunity to spruce up your interior with matching belt colors and adjust the lengths as needed to improve comfort. Next time we will look at adding shoulder harnesses to ensure your belts offer the highest level of safety possible. Until then, happy flying!

