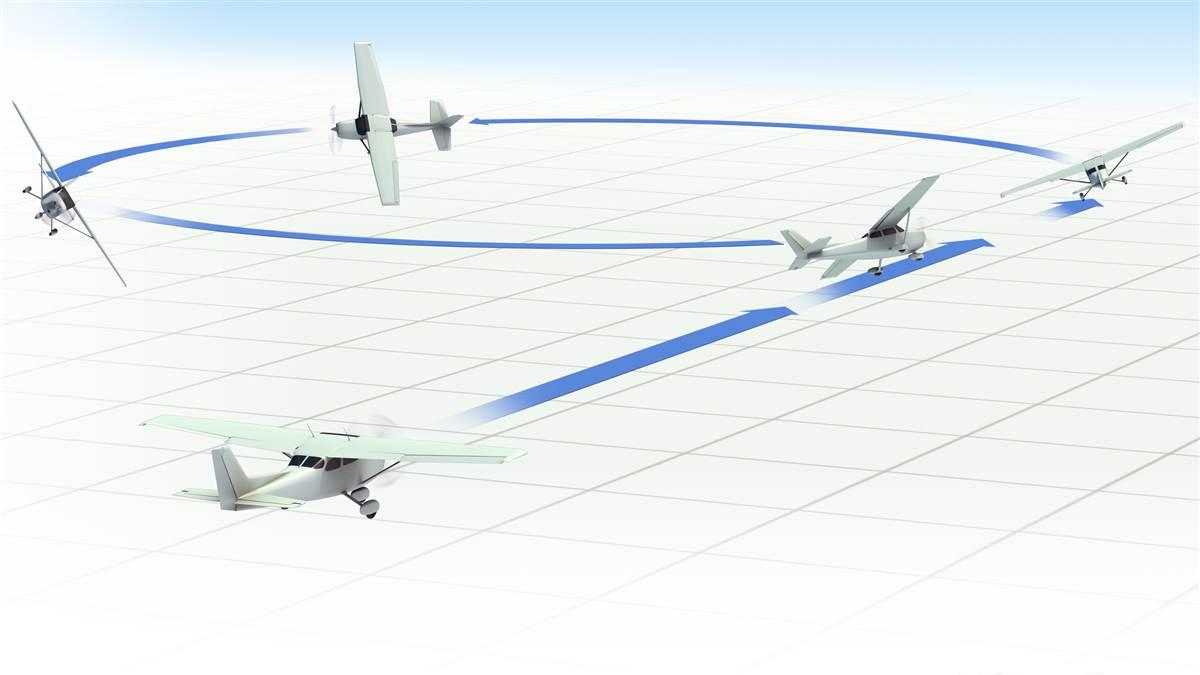
After the repetitive nature of the rectangular course and the turn around a point, the steep turn—which is a performance maneuver, not a ground reference maneuver—will seem more fun than work. When you are comfortable with executing a turn in one direction, you’ll work on rolling into a second turn in the opposite direction. These steps describe a turn in one direction only. A steep turn magnifies inappropriate turning technique, so good habits are imperative.
 The load factor
William K. Kershner’s Student Pilot Flight Manual notes that the only difference between a steep turn and a normal turn is the steepness of the bank. It may not seem that way the first few times you try it, but it’s true. As with the normal turn, understanding the aerodynamic factors at work will help you.Put very simply, lift—acting vertically—holds an airplane up. Lift—acting horizontally—produces a turn. To do both and maintain altitude, you need more total lift than when you aren’t turning. The aircraft senses this combination of factors as an increase in the load it must bear (left). The load “factor” in a turn is higher because the total weight has not changed—it just feels as though it has.
A 60-degree bank will produce 2 Gs
A 45-degree bank will produce 1.4 Gs

1. Choose a safe altitude for air work and conduct clearing turns in both directions.
2. If possible, pick a prominent visual reference as your starting point (an unusual cloud formation is OK), and fly toward it at or below maneuvering speed (VA). Note your heading.
3. Smoothly roll into the turn with coordinated use of rudder and aileron. As you roll past approximately 30 degrees, begin increasing back-pressure. You may need to hold a bit of aileron opposite the direction of turn to correct for overbanking tendency. That control may need to be offset by "inside" rudder pressure, counteracting drag from the lowered aileron.

4. You may need to add power to compensate for the additional drag and provide a buffer from the stall speed.
5. As you progress through the turn, keep looking outside while cross-checking the vertical speed indicator, altimeter, attitude indicator, and other instruments. Don’t fixate! The VSI will give the most immediate indication of an altitude change, but the altimeter is the most reliable measurement.
6. If you wait until you reach your desired heading to roll out of the turn, you’ll blow past it. Begin your rollout about 15 degrees before reaching your desired heading, verified by cross-checking your visual reference. Remember to use both rudder and aileron for a smooth, coordinated turn. Release back-pressure and reduce power as you roll out, lest you begin a climb.


