Technique / Compass Finding Your Way
The key steps involved to getting the right compass heading
Finding your way

Finding Your Way
When planning out your first series of cross-country flights, one of the most vexing challenges is establishing the heading. It would seem easy enough, but the method to find the heading you actually fly—the compass heading—is a multistep process. To complete it you’ll need the appropriate sectional chart, a plotter, a wind computer, and the information from your airplane’s compass card. With tools in hand, perform the following steps.

Compass 1
1. Draw the route on the sectional
The first step involves nothing more than determining where you want to fly and taking a straight edge to draw a line on the sectional to depict it. The hard part comes when moving between charts or from one side to the other. We’ll leave that technique for a different discussion.
Compass 2
2. Find the true course
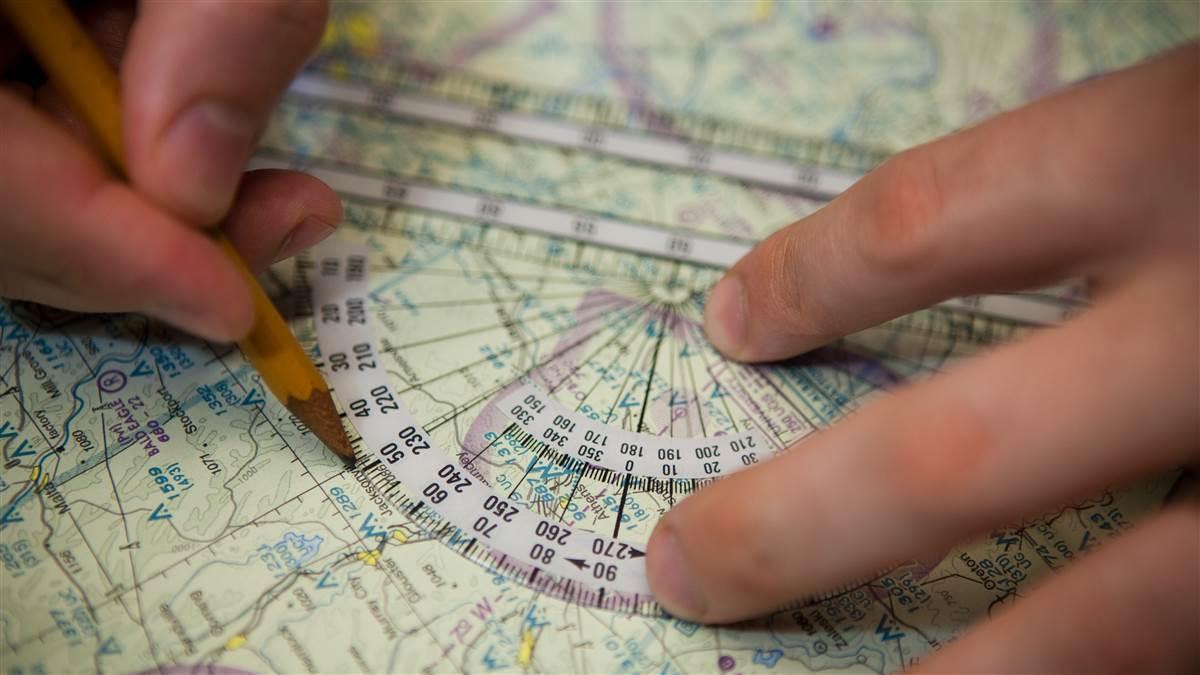
To find the true course, place the straight side of the plotter along the course line on the sectional, and make sure the grommet between the straight edge and the half-moon section is placed directly over a line of latitude or longitude. Each plotter works in a slightly different way, but in general the technique is as simple as reading the course as the line of latitude or longitude that goes through the appropriate angle. Be careful because most plotters have reciprocal headings, as well as both nautical and statute mile scales. Be sure to use the appropriate ones.
Compass 3
3. Find the true heading
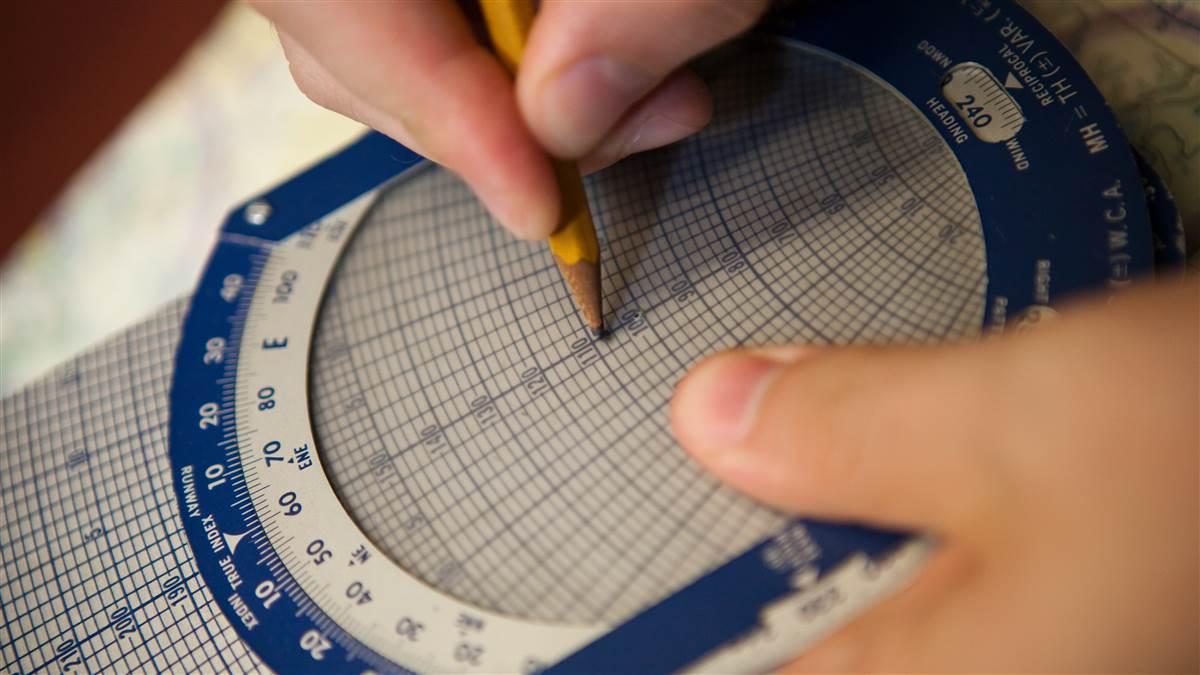
True heading is true course corrected for the crosswind component. Find the crosswind component by using the wind side of the flight computer. For more information on how to do this, see “Working the Wind Wheel,” March 2010 Flight Training. It’s important to remember that a left wind correction is subtracted from the true course, while a right wind correction is added.
Compass 4
4. Find the magnetic heading
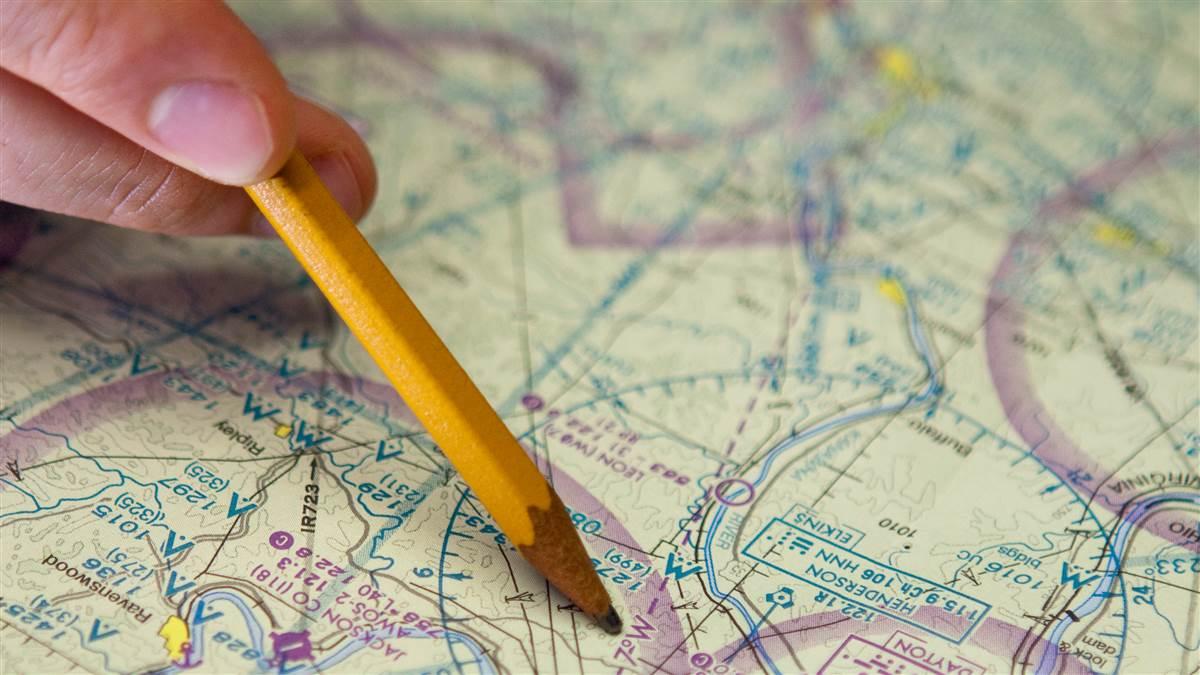
Sectional charts can be confusing. The topographic information, upon which the course line is drawn, is oriented to true north, while the navigation information, which you need to get from airport to airport, is oriented to magnetic north. To change the true heading to a magnetic heading, look for an isogonic line on the chart. They’re dashed magenta, and run roughly north and south. Take the closest one and add for a western variation and subtract for an eastern variation. If it says 4 degrees W, you add four degrees to the true heading.
Compass 5


