Aircraft Maintenance: Maintaining and replacing flight control cables
One could argue that the integrity of an aircraft’s control system is even more critical to safety than keeping the engine running. After all, pilots routinely train to glide to safety without an engine. However, if nothing happens when you move the yoke, you’re just a passenger along for the ride.
While catastrophic control system failures are rare, other problems are surprisingly common. Rudder cables in tailwheel aircraft are the most susceptible systems to failure due to the stresses on the system and exposure to the elements. But, poor control cable system maintenance can also manifest itself as autopilot system issues, tight or jammed flight controls, etc. The bottom line is that it is extremely important to maintain the entire control cable system to ensure that the aircraft performs as it was designed.
Lubrication
Pilots, aircraft owners, and mechanics often view aircraft maintenance as an annual task simply because the FAA mandates annual inspections. However, the annual inspection is just that: an annual inspection. Aircraft manufacturers publish detailed maintenance requirements that are important to the health of the aircraft and typically go far beyond “annual maintenance.”
One of the most important (and most frequently overlooked) documents in aircraft maintenance manuals is the aircraft lubrication schedule. This document contains the locations on the aircraft that must be lubricated, the types of lubricants, and the frequency that each component must be lubricated. Ignoring these requirements is simply asking for trouble down the road. Be especially diligent about using only the specified lubricants. Heavier-than-specified lubricants can attract dirt and become stiff in colder temperatures. Lighter-than-specific lubricants may not adequately protect the component from wear.
Rigging
The rigging of the aircraft control system includes the positioning of the controls and control surfaces, as well as the tension on the cables, linkages, and springs in the system. Proper rigging ensures that the aircraft flies as it was designed to and provides the degree of control required to properly fly the aircraft. Assuming that no other structural issues exist, a properly rigged aircraft will be stable when flown hands-off. Proper rigging also ensures that all flight controls are centered in neutral and have the proper degree of travel available. This means that if you have to move a control to its maximum travel in an emergency, you will get the response you need; it’s that critical.
Aircraft control system rigging is one of the most neglected maintenance tasks out there, which is understandable since it can be a frustrating process on some aircraft. The entire system needs to be adjusted until it is in balance, and every change can affect something else. For example, let’s say you begin by setting the neutral position and travel of an elevator. Next, you set the tensions on the up and down cables to the manufacturer’s specs. However, those tension changes you just made probably affected the neutral position and limits. So, you go back and set those again…and so on. Lather, rinse, repeat. The good news is that, at the end of the process, you have an aircraft that flies as the designers intended. You also have the confidence that the system components are not being over-stressed during normal operation.
Any time that a control system component is replaced, the rigging needs to be checked and adjusted. Never just replace a pulley or linkage and walk away. As these components wear, they affect the tensions on the cables. New components are sure to affect the system as a whole. It’s also important to check the rigging at the annual inspection. If the cable tensions have changed significantly, that can be an important clue that there is abnormal wear or failure of a component somewhere in the system.
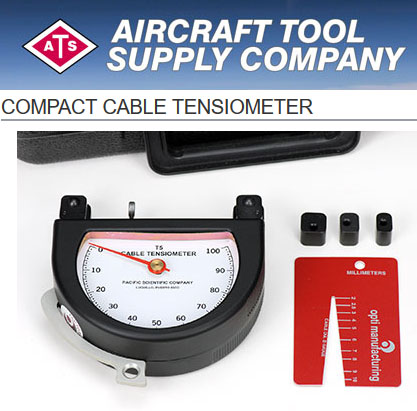
Adjusting the tension of a cable is a fairly simple process, but it does require at least one special tool: a calibrated cable tension meter. Notice I said “calibrated tension meter”; proper and recent calibration is critical for this task. Cable tensions are dramatically (but predictably) affected by temperature. Therefore, manufacturers publish cable tension charts in the maintenance manuals that account for temperature at the time of the cable tension check. Cable tension meters are expensive tools (up to $900 for a quality, compact one), so it pays to keep your local A&P’s coffee cup full and borrow one when you need it, rather than invest in one for yourself if that’s an option. If not, there are a variety of options available from companies such as Aircraft Tool Supply or Aircraft Spruce.
Cable tensions are adjusted by twisting the turnbuckles that connect different sections of cable together. It’s a simple system, but you need to hold each cable end stable while turning the turnbuckle in order to avoid putting twisting stress on the cable itself. If you work alone, you may want to invest in a cable turnbuckle tool that holds both cable ends stable while you twist the turnbuckle barrel (I purchased mine from Aircraft Tool Supply for about $25). Don’t forget proper safety wire practices also. This is a great technique to learn and fairly easy to do. We won’t cover it in detail here, but I always recommend the “double twist” safety wire method for control system turnbuckles when possible because even small movement of the turnbuckle can significantly affect cable tensions.
Important: Do not attempt to rig the control system until it has been completely inspected for damage and worn components, and properly lubricated. Few things are as frustrating as getting a system completely rigged, only to have to do it again after repairing or replacing a component. In addition, if the system is not properly lubricated, the cable tension readings will not be accurate.
With the exception of lubrication, control cable maintenance is not an owner maintenance task. It requires supervision and sign-off by a licensed A&P mechanic. However, nothing precludes you from learning the process and swinging the wrenches under proper supervision. It will make you a more informed aircraft owner and, perhaps someday, a mechanic yourself! Happy flying!